
Introduction
As digital privacy becomes increasingly essential, securing your hard disk drives (HDDs) can play a crucial role in protecting sensitive data from unauthorized access. Whether you want to hide a drive from plain sight or lock it down so that only you have access, this guide explores effective methods to hide and lock hard disk drives in ‘My Computer’.
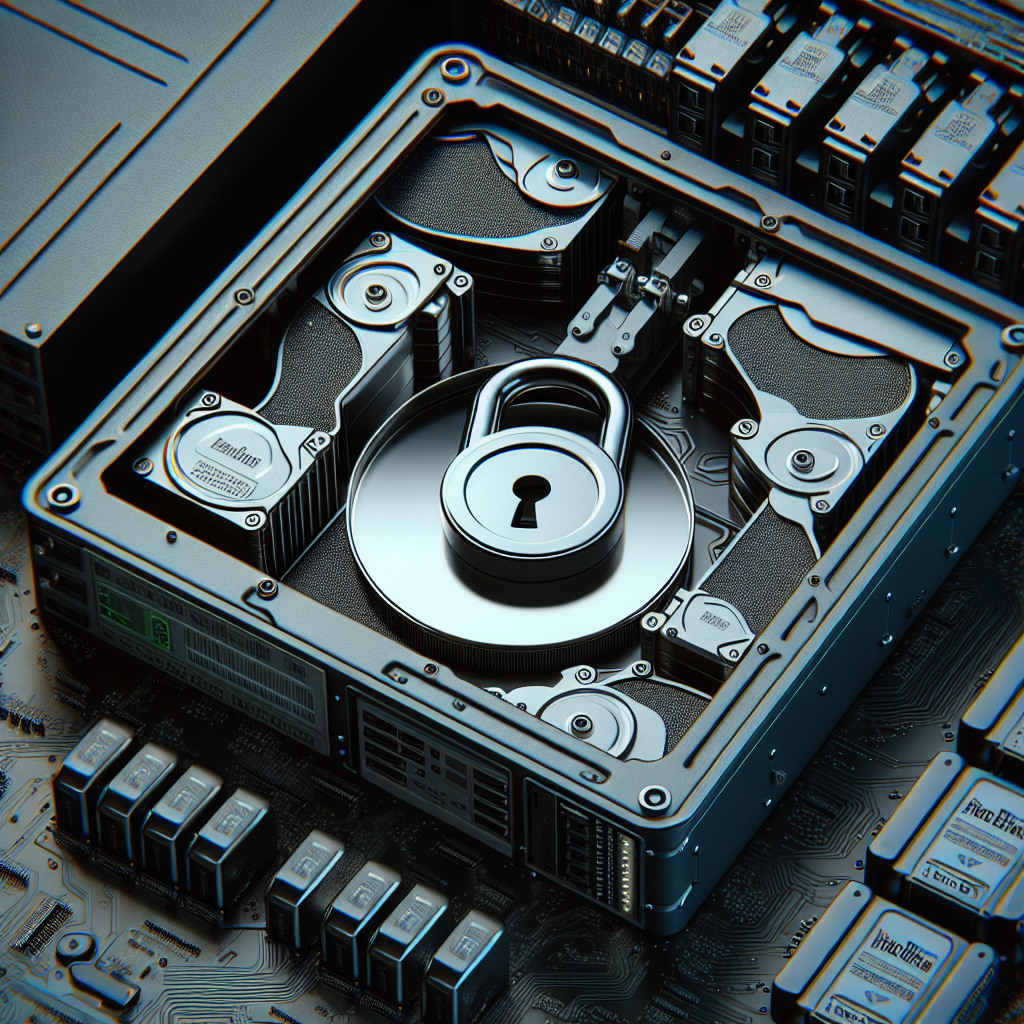
Why Hide or Lock Hard Disk Drives?
- Privacy: Keeping some drives hidden ensures that prying eyes can’t easily discover them.
- Security: Locking drives adds an extra layer of protection against unauthorized access.
- Organization: Simplifies the user interface by showing only essential drives.
Methods to Hide Hard Disk Drives
1. Using Disk Management Tool
- Press Windows+R to open the Run dialog box.
- Type diskmgmt.msc and press Enter.
- In the Disk Management window, right-click on the drive you want to hide and select Change Drive Letter and Paths.
- Click Remove to unassign the drive letter and make it disappear from ‘My Computer’.
This method hides the drive but doesn’t secure the data. To make the drive visible again, open Disk Management and reassign the drive letter.
2. Using Command Prompt
- Open Command Prompt as an administrator.
- Type diskpart and press Enter.
- Type list volume to display all your drives.
- Identify the volume number of the drive you want to hide.
- Type select volume X (replace X with the volume number) and press Enter.
- Type remove letter=Y (replace Y with the drive letter) and press Enter.
Your chosen drive will now be hidden.
Methods to Lock Hard Disk Drives
1. Using BitLocker
- Open Control Panel and go to System and Security.
- Click on BitLocker Drive Encryption.
- Select the drive you wish to lock and click Turn on BitLocker.
- Follow the on-screen instructions to encrypt your drive and set a password.
BitLocker is available on Windows 10 Pro, Enterprise, and Education editions.
2. Using Third-Party Software
- Download and install a reputable drive locking software like Folder Lock or SafeHouse Explorer.
- Open the software and navigate to the drive you want to lock.
- Set a strong password following the software’s instructions.
- Encrypt the entire drive if the option is available for additional security.
Third-party software often provides universal compatibility and additional features not available natively in Windows.
Combining Both Methods for Enhanced Security
For the highest level of security, you can combine both hiding and locking methods. First, hide the drive using any of the hiding methods mentioned earlier. Then, proceed to lock the drive using either BitLocker or third-party software. This way, even if someone manages to find the hidden drive, they will still need the password to access it.
Restoring Hidden and Locked Drives
Unhiding the Drive
- Open Disk Management as described above.
- Right-click on the hidden drive and select Change Drive Letter and Paths.
- Click Add, choose a letter, and click OK.
Your hidden drive will now reappear in ‘My Computer’.
Unlocking the Drive
- For BitLocker, go to Control Panel > System and Security > BitLocker Drive Encryption.
- Click on Unlock drive and enter your password.
- For third-party software, open the software and enter your password to unlock the drive.
Once unlocked, your drive will be accessible immediately.
Conclusion
Protecting your hard disk drives by hiding and locking them can significantly enhance the security and privacy of your data. Utilizing the built-in features of Windows and leveraging third-party software provides a comprehensive approach to safeguarding your information. Both methods are straightforward and can be combined for maximum security.
By following the steps laid out in this guide, you can easily manage the visibility and access of your hard disk drives, ensuring that your sensitive data remains secure.