
Introduction
Connecting an external hard drive to your Macbook Pro can greatly expand your storage options and facilitate easy data transfer. Whether you’re a professional needing extra storage for large files or a home user looking for additional backup options, integrating an external drive with your Macbook Pro is a straightforward process.
Below is a step-by-step guide on how to connect and use an external hard drive with your Macbook Pro.
Understanding Compatibility
The first step is to ensure that your external hard drive is compatible with your Macbook Pro. Most external hard drives come with USB 3.0, USB-C, or Thunderbolt interfaces. Here is a quick compatibility reference:
| Drive Interface | Compatible Macbook Pro Ports |
|---|---|
| USB 3.0 | USB-C (with an adapter), USB-A (on older models) |
| USB-C | USB-C |
| Thunderbolt | Thunderbolt, USB-C |
Physical Connection
Gather Necessary Cables and Adapters
- If your Macbook Pro only has USB-C ports, ensure you have appropriate adapters if your hard drive uses USB 3.0 or other interfaces.
- Have a compatible cable for direct connections.
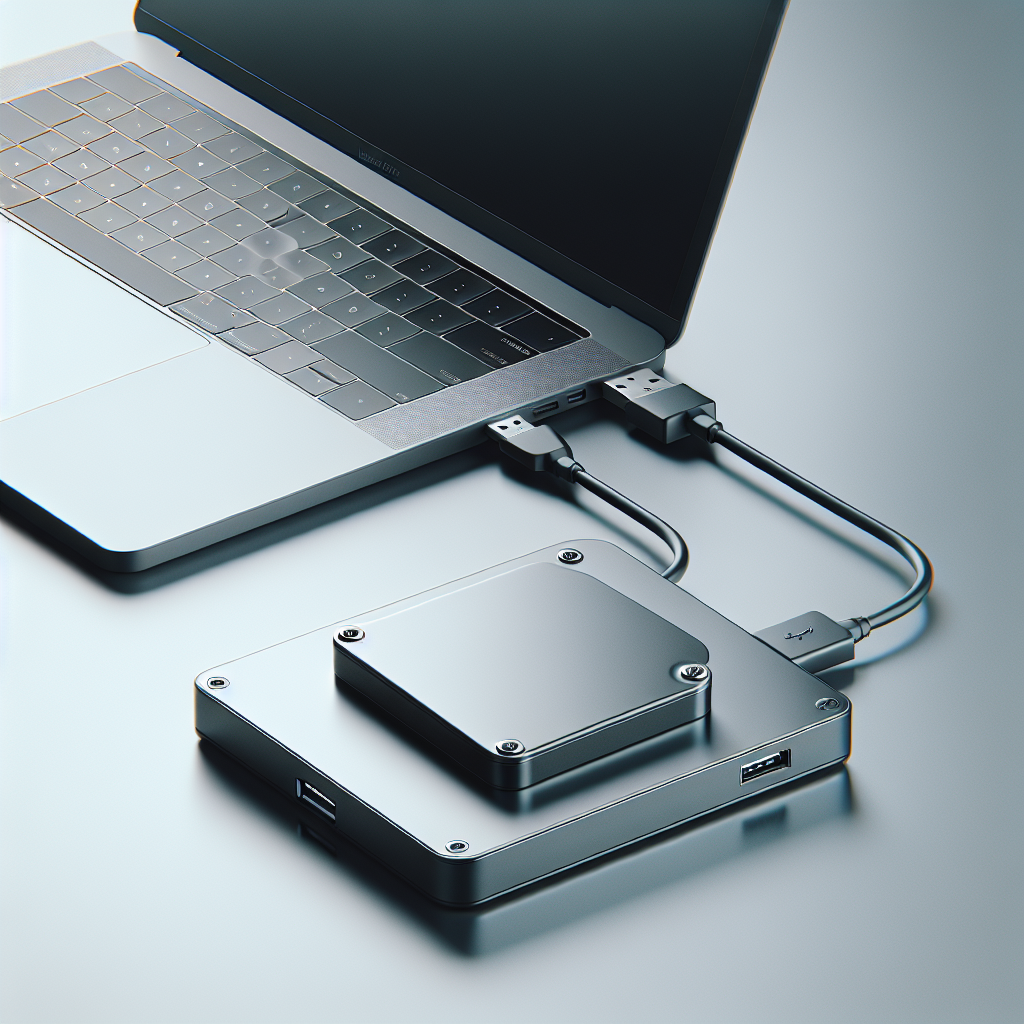
Connecting the Drive
- Plug the external hard drive into the appropriate port on your Macbook Pro.
- If an adapter is needed, attach the adapter to the hard drive cable first, then connect it to your Macbook Pro.
- Once connected, the drive should automatically appear on your desktop or in the Finder window.
Formatting the External Hard Drive
Why Formatting Might Be Necessary
External hard drives often come pre-formatted for Windows (NTFS) and may need to be reformatted to work optimally with macOS (Mac OS Extended or exFAT).
Steps to Format
- Open Disk Utility from your Applications > Utilities folder.
- Select your external hard drive from the list on the left.
- Click the “Erase” tab.
- Select “Mac OS Extended (Journaled)” or “exFAT” under the format menu.
- Click “Erase” to reformat the drive. This will delete all data on the drive.
Using the External Hard Drive
File Transfer
- Open a Finder window and locate your external hard drive in the sidebar.
- Drag and drop files between your Macbook Pro and the external drive.
Time Machine Backup
- Open System Preferences and select “Time Machine”.
- Click “Select Backup Disk” and choose your external hard drive.
- Time Machine will automatically start using the drive for backups.
Troubleshooting Common Issues
If your external hard drive isn’t recognized by your Macbook Pro, try the following:
- Ensure all connections are secure.
- Try a different cable or adapter.
- Check if the drive is visible in Disk Utility and attempt to mount it manually.
- Restart your Macbook Pro.
- Update your macOS to the latest version.
Conclusion
Connecting an external hard drive to your Macbook Pro is a simple yet powerful way to enhance your storage and backup capabilities. By following the steps outlined above, you can effortlessly integrate an external drive into your workflow for greater efficiency and flexibility.