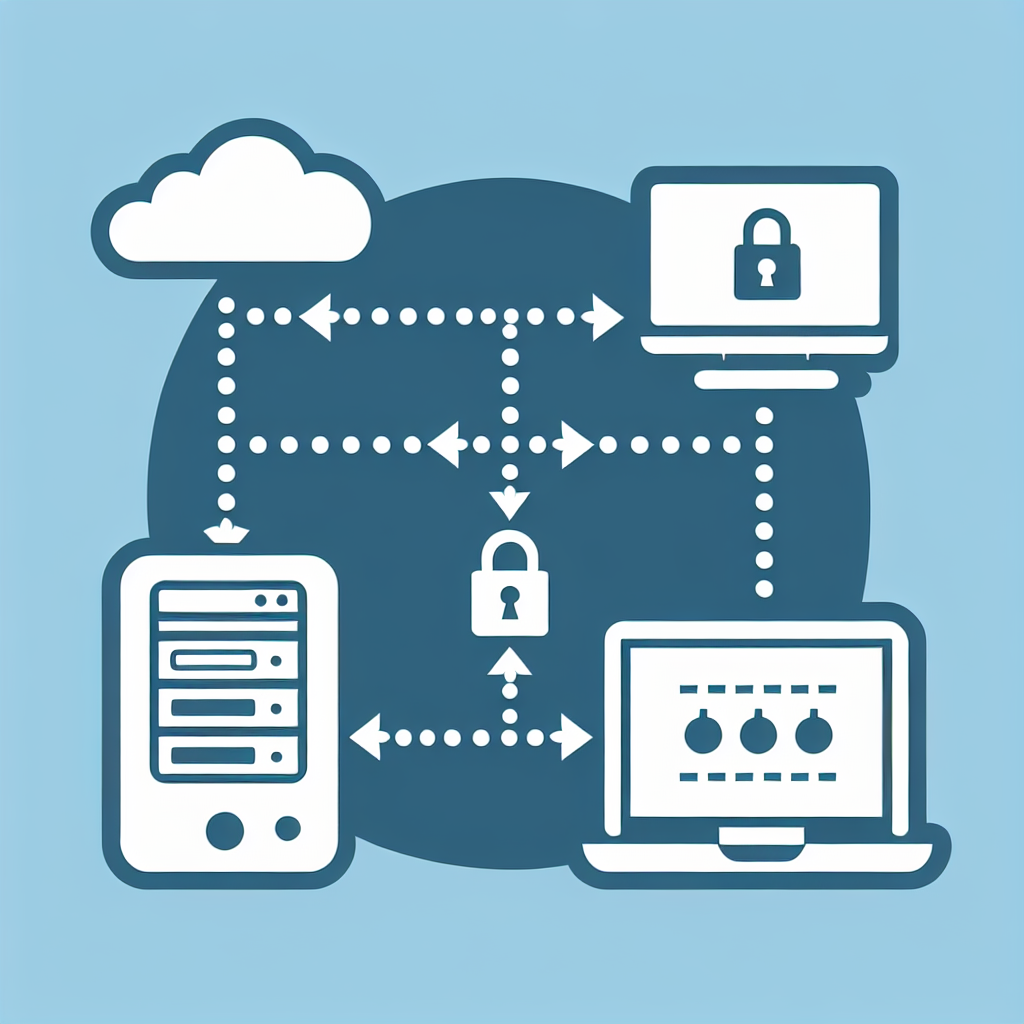
A Virtual Private Network (VPN) provides secure internet connectivity by routing your online activities through a secure server. Configuring a network adapter for a VPN is a critical step in setting up a reliable and secure connection. This guide will walk you through the process of configuring your network adapter for a VPN on various operating systems, ensuring you can browse securely and privately.
Key Steps to Configure a Network Adapter for a VPN
| Step | Description |
|---|---|
| 1. Choose a VPN Service | Select a reputable VPN provider that suits your needs, ensuring it has strong encryption standards, no-logs policy, and good server coverage. |
| 2. Install VPN Software | Download and install the VPN application from the provider’s official website. |
| 3. Configure the Network Adapter | Adjust the settings of your network adapter to work with the VPN client. |
| 4. Connect to the VPN | Launch the VPN application and connect to your desired server. |
Step-by-Step Guide for Windows
1. Choose and Install a VPN Service
Begin by selecting a VPN service provider that meets your requirements. Once chosen, visit their official website to download the VPN client software. Follow the on-screen instructions to install the application.
2. Open Network Adapter Settings
Open the Control Panel and navigate to Network and Sharing Center. Click on Change adapter settings on the left sidebar.
3. Configure the Adapter
Locate the network adapter that you want to configure for the VPN connection. Right-click on it and select Properties. In the properties window, select Internet Protocol Version 4 (TCP/IPv4), then click Properties. Click Advanced and configure the settings as directed by your VPN provider, making sure to enable the option to use your VPN’s DNS servers.
4. Connect to the VPN
Open the VPN client application that you installed, sign in with your credentials, and select your desired server. Click Connect to establish a VPN connection. Once connected, your network adapter is configured to route your traffic through the VPN server.
Step-by-Step Guide for macOS
1. Choose and Install a VPN Service
Choose a VPN service provider and download the macOS version of their VPN client from the official website. Install the application by following the provided instructions.
2. Open Network Preferences
Click on the Apple menu and select System Preferences. Then, go to Network.
3. Add a VPN Configuration
In the Network window, click the + button to add a new network connection. Select VPN from the Interface dropdown menu and choose the VPN type provided by your VPN provider. Enter the required details such as server address, account name, and authentication settings.
4. Apply and Connect
After entering the necessary information, click Apply to save the configuration. Click Connect to establish the VPN connection.
Step-by-Step Guide for Linux
1. Choose and Install a VPN Service
Select a VPN provider compatible with Linux systems. Download the VPN client package from their official site or use a command-line client like OpenVPN.
2. Open Network Manager
Access your network settings through the Network Manager, usually found in the notification area.
3. Add a VPN Connection
Click Add to add a new connection. Choose VPN from the list and select the specific type that matches your VPN provider. Enter the required credentials and configuration details.
4. Connect to the VPN
Once the configuration is complete, select the VPN connection from the Network Manager and click Connect. Your network adapter will now route traffic securely through the VPN.
Important Considerations
- VPN Protocols: Ensure your VPN provider supports secure protocols like OpenVPN, IKEv2/IPSec, or WireGuard.
- DNS Leaks: Configure your network adapter to use your VPN’s DNS servers to prevent DNS leaks.
- Kill Switch: Enable the kill switch option in your VPN client to prevent data leaks if the VPN connection drops.
- Regular Updates: Keep your VPN client software and network adapter drivers up to date for optimal security and performance.
By following these steps and considerations, you can effectively configure a network adapter for a VPN, ensuring a secure and private browsing experience.

